Tree 구조 만들기

<ul class="tree">
<li><input type="checkbox" id="root"> <label for="root">root</label>
<ul>
<li><a href="https://naver.com">node1</a></li>
<li><a href="https://naver.com">node2</a></li>
<li><input type="checkbox" id="node3"> <label
for="node3">node3</label>
<ul>
<li>node31</li>
<li>node32</li>
<li>node33</li>
</ul></li>
</ul></li>
</ul>
.tree, .tree ul{
list-style:none;
padding-left:20px;
}
.tree *:before{
width:20px;
display:inline-block;
}
.tree label{
cursor:pointer;
}
.tree label:before{
content:'+'
}
.tree a:before{
content:'=>'
}
.tree a{
color:#393939;
text-decoration : none;
}
.tree input[type="checkbox"] {
display: none;
}
.tree input[type="checkbox"]:checked ~ul {
display: none;
}
.tree input[type="checkbox"]:checked +label:before {
content:'-'
}
2. 링크를 버튼으로 만들기

<a class=”btn”>
에서 클래스 btn의 margin 을 그냥 바꾸면 먹히지 않아 (a태그가 인라인이기 때문)
그래서 display:inline-block 해줘야 적용됨
.btn{
text-decoration: none;
font-size:2rem;
color:white;
padding:10px 20px 10px 20px;
margin: 20px;
display:inline-block;
border-radius:10px;
transition:all 0.1s;
border-bottom:2px solid #165195;
font-family: 'Gugi', cursive;
text-shadow :0px -2px rgba(0,0,0,0.44);
}
.btn:active{
transform : translateY(3px);
}
.btn.blue{
background: #1f75d9;
border-bottom:5px solid #165195;
}
.btn.blue:active{
border-bottom:2px solid #165195;
}
.btn.red{
background: #ff521e;
border-bottom:5px solid #c1370e;
}
.btn.red:active{
border-bottom:2px solid #c1370e;
}
<a class="btn blue" href="#blue">blue</a>
<a class="btn red" href="#red">red</a>
3. display : flex 이용하기
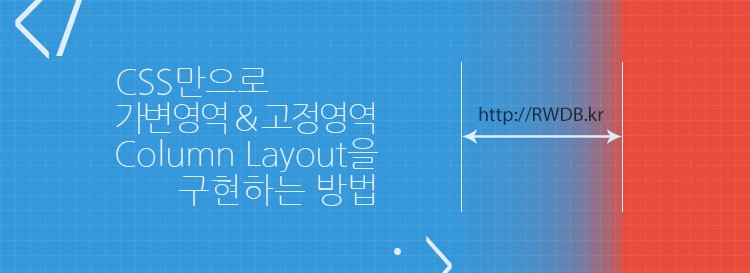
<div class = "wrapper">
	<div class = "main">
		<!-- 가변 영역 -->
	</ div>
	<div class = "side">
		<!-- 고정 영역 -->
	</ div>
</ div>
.wrapper {
overflow : hidden;
}
.main {
float : left;
width : 100 %;
margin-right : -300px;
padding-right : 300px;
box-sizing : border-box;
}
.side {
float : right;
width : 300px;
}
.wrapper {
display : -webkit-flex;
display : flex;
}
.main {
-webkit-flex : 1;
flex : 1;
}
.side {
width : 300px;
}
4. 커스텀 디자인 하기 위해서 reset css 를 이용함
'웹' 카테고리의 다른 글
| PHP 페이징 + Ajax (코드이그나이터) (1) | 2018.07.11 |
|---|---|
| jquery 선택자 정리 (0) | 2018.07.09 |
| 페이징 속도 빠르게 하는 하는 DB 쿼리 (0) | 2018.04.25 |
| 스트러츠 (1) | 2018.04.10 |
| struts 2.0 + mybatis3 INSERT 과정 (0) | 2018.03.29 |